
I constructed the unit from off cuts of 18mm MDF which were cut up so as to give me a box 20" x 10 1/2" x 9 3/4" when assembled.

Domino slots were cut in the panels to form the box & an aperture was routed out to allow the exhaust air out.

The base & 2 sides were then glued & dominoed together & the fan housing bolted in.

Over to the lathe & a piece of 26mm MDF cut to the internal dimensions of the box was fixed to the chuck & a rebated hole cut through it.

This was then glued & nailed in position.

The top was then glued on & whilst I`d got the nail gun out another piece of 25mm MDF was glued & fixed at the back of the fan for added support & to fix a bracket onto which the capacitor could then be mounted on.

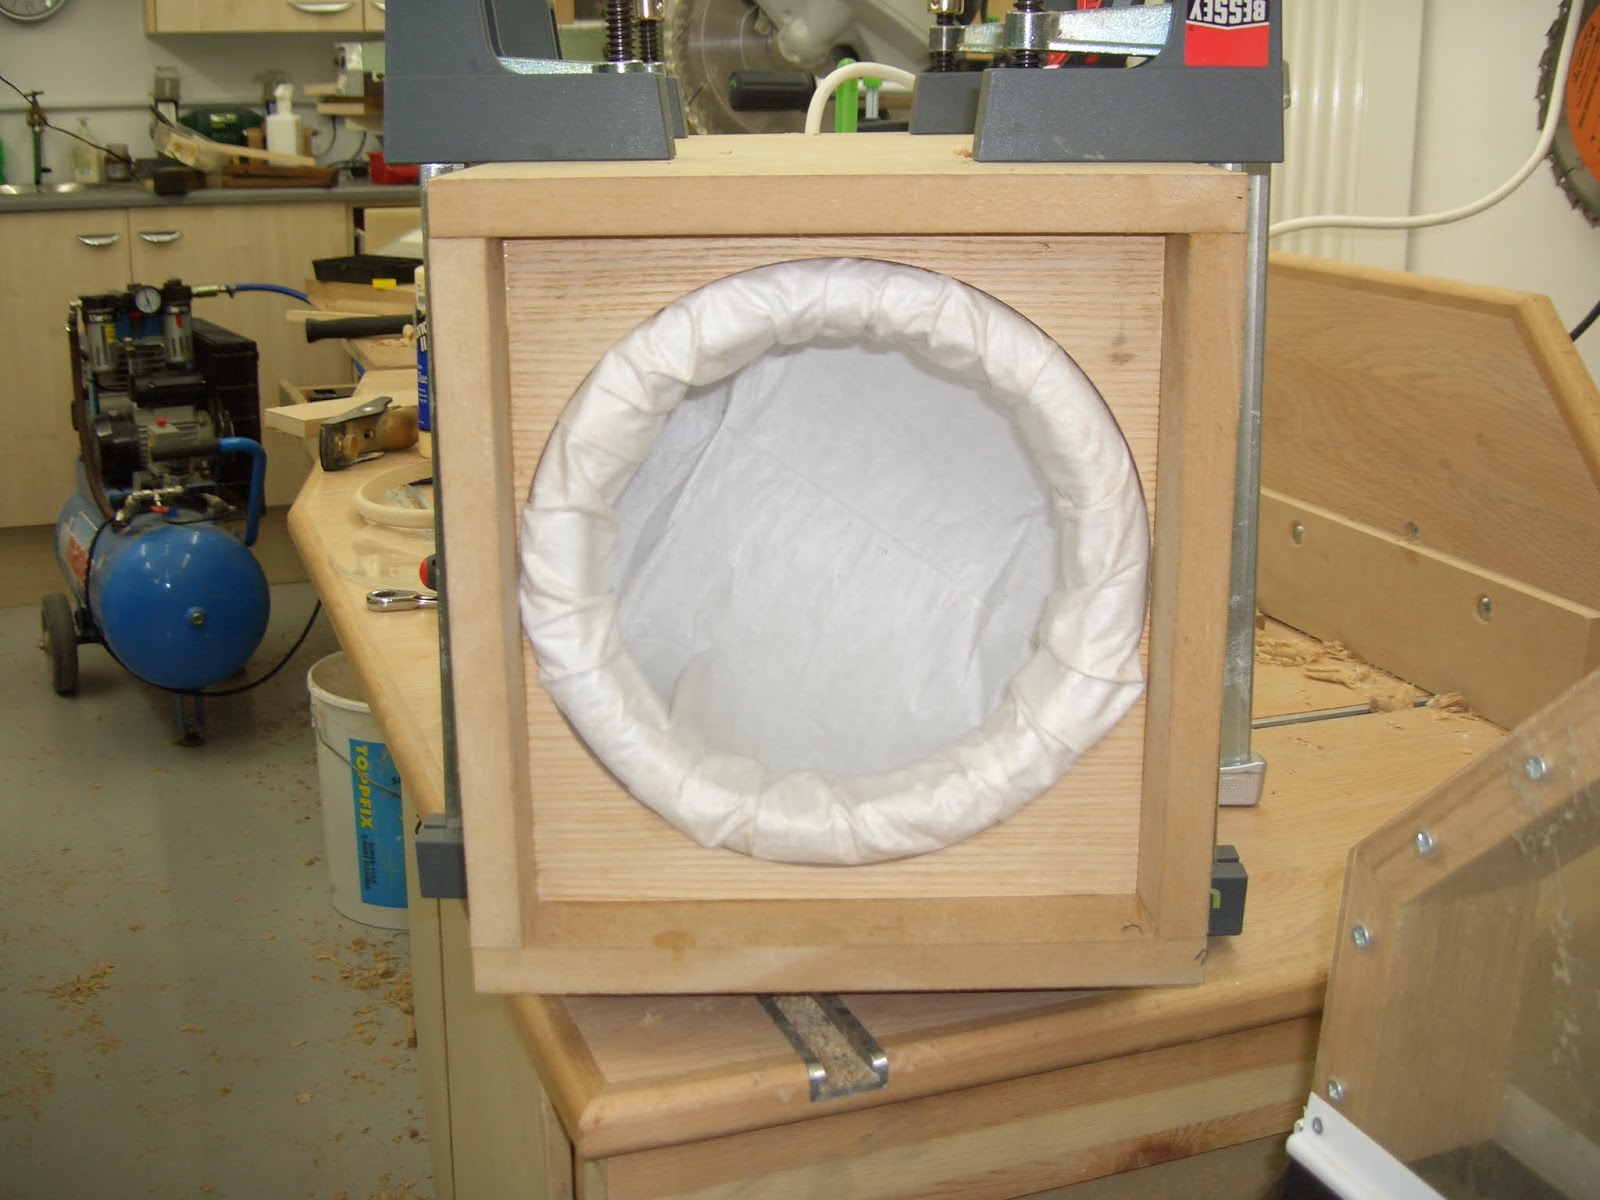
View through the front of the filter.

I fixed a bracket & mounted the capacitor, temporarily wiring it up to see how well the fan sucked.

Happy with how it worked the gaps around the fan housing & the sides of the unit were filled with spray foam to seal up all nooks & cranies so the only air drawn into the fan had to come through the filters. Whilst the foam cured I went back to the lathe & cut a ring from 18mm MDF that the filter bag would wrap round & sit in the rebate.

The fine filter is a 0.5 micron hepa vacuum bag filter I got from a mate who runs a vacuum cleaner business, he recommended it for what I wanted to do, so i simply cut off the end of the bag with the vacuum connection in, wrapped it round the MDF ring & stapled it to the back of the ring. It sits nicely in the rebate without any fixings.
Chicken wire was folded in half & cut to fit inside the box, a piece of pre-filter material (from the same mate) was sandwiched between the chicken wire, this would form the pre-filter.

After a couple of coats of paint pine bezels were made to hold the chicken wire in place. Chains were fixed to the top of the unit for suspending it from the ceiling & the wiring tidied up.

The unit was then fixed to the ceiling & wired into the lighting circuit so it could be easily switched on via a light switch.

The front bezel is held in place via 2 wing-nuts for easy access to the filters

No comments:
Post a Comment