Luckily most of the bigger machines were on casters or were at least portable enough to be moved around as each incarnation took place. I had few fixed points, I had installed plenty of 3 pin sockets & as these, the lighting & 16-amp sockets were all in conduit these weren`t impossible to reposition.
More awkward were the radiators, I had run these off the combi boiler in the house via an underground duct to the shop & whilst not impossible to re-position, this was something I didn`t want to do. At the far end of the shop I installed some kitchen wall & base units with worktop & sink, this & the heating were the main improvements over my previous workshop & both have made my working environment so much more pleasurable.
The layout below although different today served me for 6-7 years, I`m posting it as it gives an idea of my starting point & as the blog progresses it will show where things have been improved, though not everything has changed, but more of that later.
The first photo shows my old second hand workbench this was placed near the door with just a small set of drawers between it & the door, these drawers held small tools & fixings regularly used at the bench, above was a peg board tool rack. These where situated so as to maximize the natural day light at the bench that was available when the outer door was wedged open.


As can be seen from the second photo next along the right hand wall was the table saw, behind it was the shop vac hooked up to a Dust Deputy cyclone, this could be connected to hand held power tools & the crown guard of the table saw (removed for photographic purposes)

The outfeed table of the table saw doubled as a shop built router table with removable fence, after which was the radial arm saw.

This had a perspex shroud around it to try & contain the dust, but I have to admit was not that efficient. Finally on this side was the pillar drill standing on a set of shop made drawers that house all my drill bits & anything associated with its use.
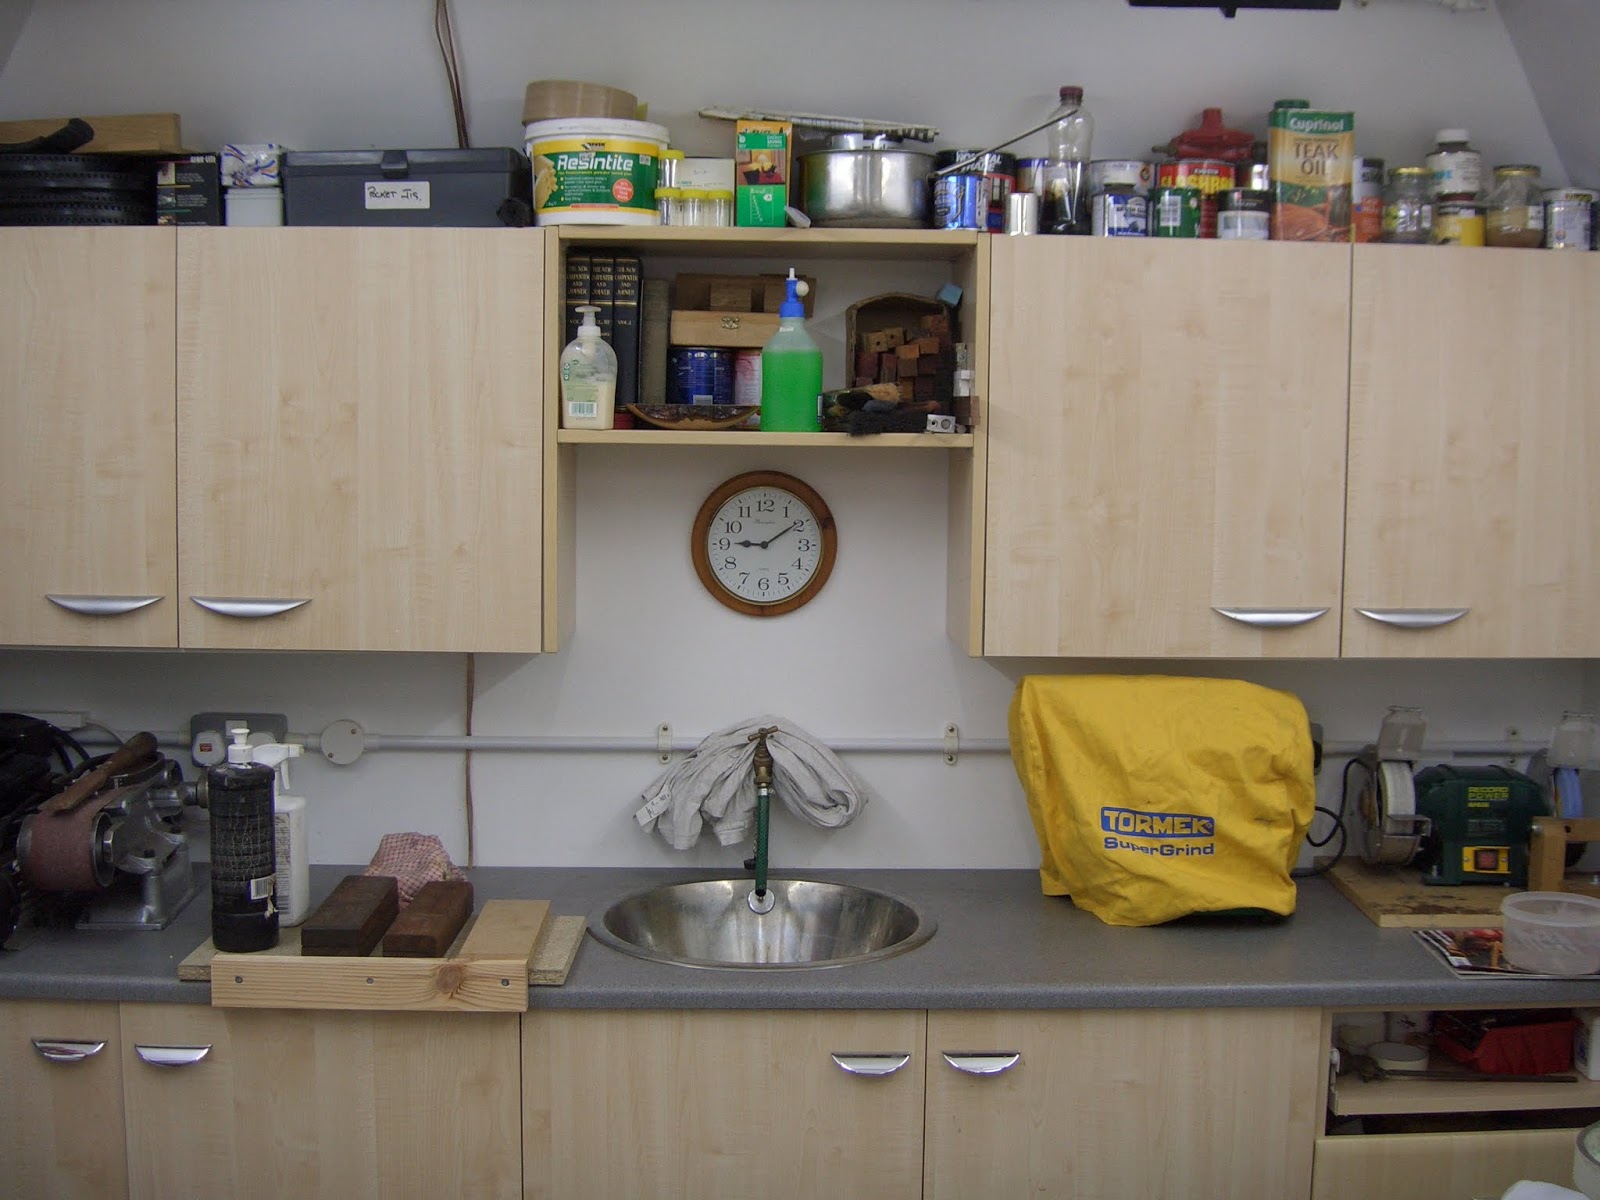
At the far end of the shop is the sink with plenty of storage for all manor of stuff it also provides a surface for grinders & sharpening paraphernalia.
As we start on the way down the left hand wall first up is my chopsaw mounted quite high so as to allow long lengths of timber to reach down the shop, underneath are the piles of off-cuts, too good to through away but seemingly ever increasing.
Next to this is the surface planer, behind it more off cuts, a roller stand that lines up with the chopsaw & on the wall the removable fence for the router table.

After the planer is the large extractor that hooks up to all the big machines including the thicknesser next to it, this is on a trolley which allows it to be pulled out when needed & stored against the wall when not.

Finally after the thicknesser is a small bandsaw, a lathe & a next to the doors a mechanics set of drawers with an old mortiser on top.

This basic layout is what I`ve worked around when trying to improve things, my next posts will cover the different shop made items that have made the use of the shop easier & more enjoyable.
No comments:
Post a Comment